ServicesSurface Preparation and Sanding
Surface Preparation and Sanding in Carteret
Fresh paint makes small flaws easier to spot, not harder. We fill dents and holes, sand seams flush and spot-prime every repair so your walls and ceilings take an even coat. Dust stays contained, and the room is left tidy when we finish.
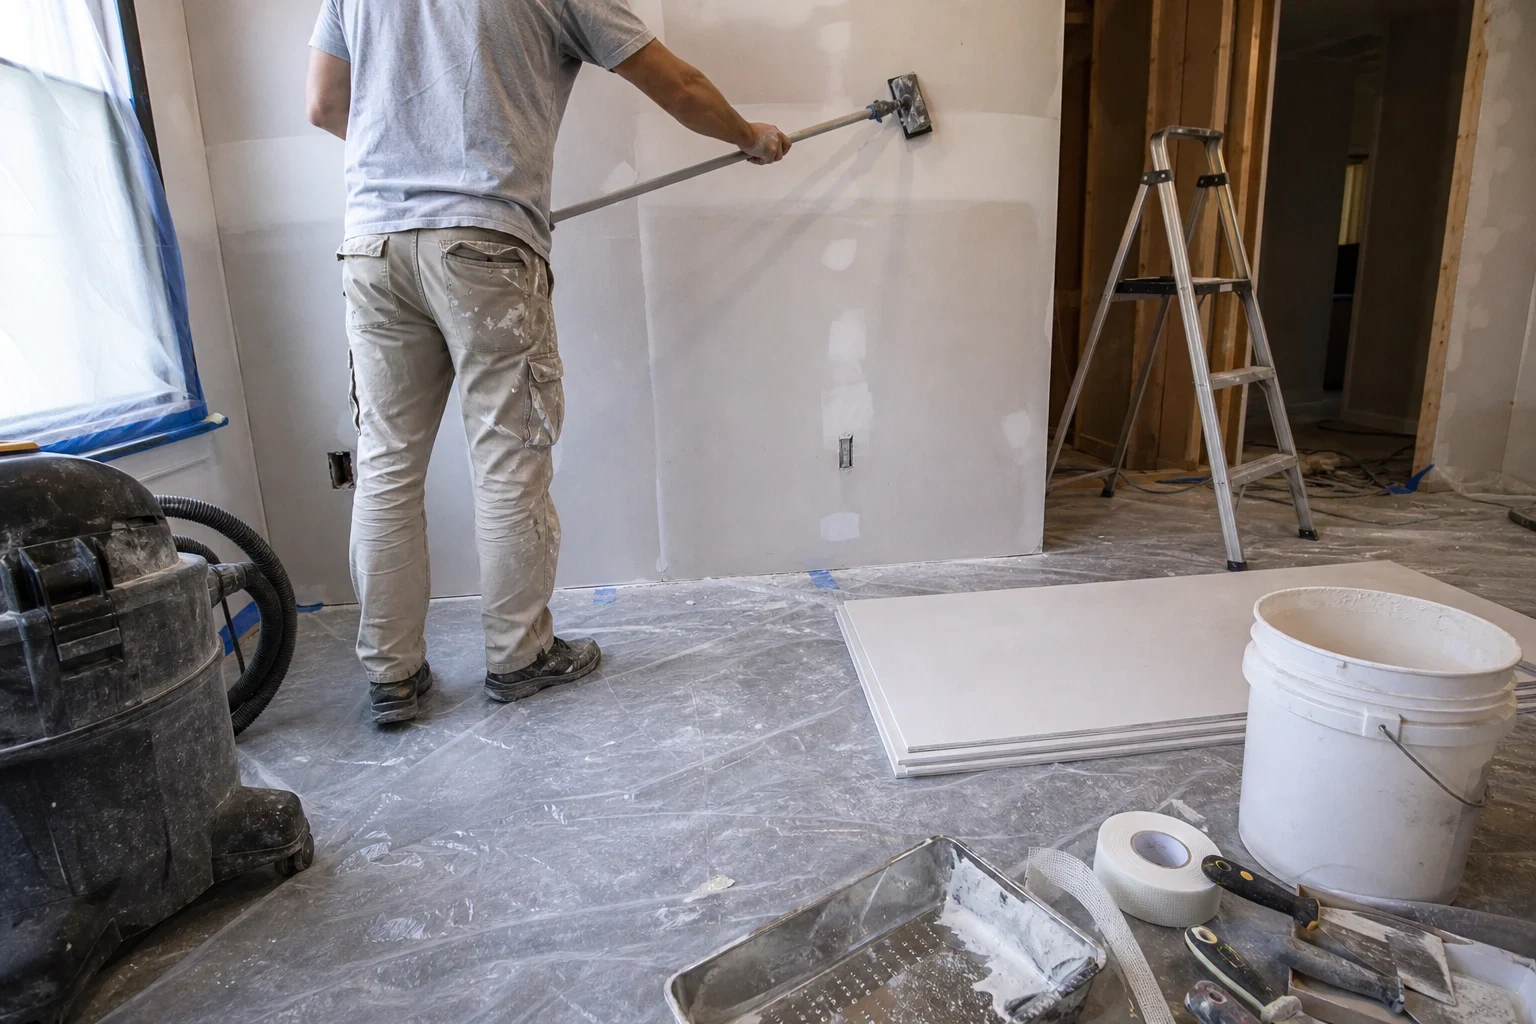
The work that decides how the paint looks
Most paint problems start before the paint. A ridge of joint compound, a nail hole filled but never sanded, or a glossy patch that was never primed will show through once the light hits the wall at an angle. Surface preparation and sanding is the step that removes those problems, so the finish looks the way you pictured it.
We handle this as a standalone service and as part of our other drywall work. If you have a painter lined up, we can get the surfaces ready beforehand. If you only need small areas blended, our paint touch-ups can follow right after the prep.
We also plan prep around the seasons. Joint compound dries slowly in a humid New Jersey summer and cures better once fall arrives, so we time the work for drying conditions that suit it and for when you want the room back.
What our prep and sanding covers
- A close look in raking light
- We hold a work light flat against the wall to show the dents, ridges and old patches that overhead lights hide. You see what we see before anything gets touched.
- Filling holes, dings and cracks
- Nail holes, anchor holes, door-handle dents and hairline cracks get filled with the right compound for their depth. Deeper spots take two passes so they don't shrink back.
- Sanding and feathering
- We sand filled areas and taped seams flush, then feather the edges wide so there is no visible hump. We use fine-grit paper and a light hand, which keeps us from scuffing the drywall paper face.
- Scraping loose or peeling paint
- Flaking paint gets scraped back to a firm edge and the step is smoothed out, so the old outline doesn't show through the new coat.
- Cleaning and spot priming
- Walls are wiped down to remove sanding dust and grime. Bare compound and patched spots get primer so the paint absorbs evenly and doesn't leave dull, flat-looking patches.
- Dust control and cleanup
- Floors and furniture are covered, doorways can be sealed off with plastic, and we vacuum as we go. You get back a clean work area, not a fine gray film on every shelf.
Signs your walls need prep before painting
Shiny or dull spots after painting
Patches that look flatter or glossier than the rest of the wall usually mean the repair was never primed. Prep fixes this before the next coat.
Visible seams and tape lines
If you can trace drywall joints when the sun comes through the window, the seams need more compound and careful sanding.
Old repairs you can feel
Run your hand across the wall. Bumps, ridges and sunken spots will show through paint, especially in eggshell or satin.
Nail pops and small cracks after winter
Dry heated air over the winter makes framing shrink a little, which pushes nails out and opens cracks at corners. Spring is a good time to set them and smooth them over.
Peeling or bubbling paint
Paint that lifts away needs to be scraped and sanded back to a sound surface. Painting over it only traps the problem.
What affects the cost of prep and sanding
Every room starts in a different condition, so we quote after we've seen the surfaces. During the walkthrough we point out what is adding time and material, and you hear the number before any work begins. Here is what moves it most.
How much surface and how damaged
A bedroom with a few nail holes is a short job. A hallway with years of dents, old anchors and patchy repairs takes more filling and more sanding.
Depth of the fixes
Shallow dings take one coat. Deep gouges, cracks and failed old patches need several coats with drying time between them, which can mean a return visit.
Ceilings and high walls
Overhead sanding and stairwells take ladders or staging and more time. A smooth ceiling also shows flaws more than a wall does.
Loose paint and gloss
Scraping peeling areas or dulling glossy enamel adds a step before filling can begin.
Dust protection needed
An empty room is quicker to prepare than a furnished one with electronics, open shelving or a nursery next door that we need to seal off carefully.
How a prep day goes
- 1
Start with a phone call
Let us know which rooms you're painting, what you've spotted and your painting date. We ask a few questions and pick a time to see the walls.
- 2
We look and lay out the plan
Using raking light, we show you what needs filling or scraping and explain our approach and the reasons for it. The scope is clear before any work begins.
- 3
Cover, fill and wait for drying
Floors get covered, items are moved and the room is closed off. Next we fill and patch. Deep fills can call for a return trip after the compound dries all the way.
- 4
Sand, prime and vacuum
We sand it all flush, recheck under the light, prime any bare spots and vacuum. Then the walls are set for your painter or our paint touch-ups.
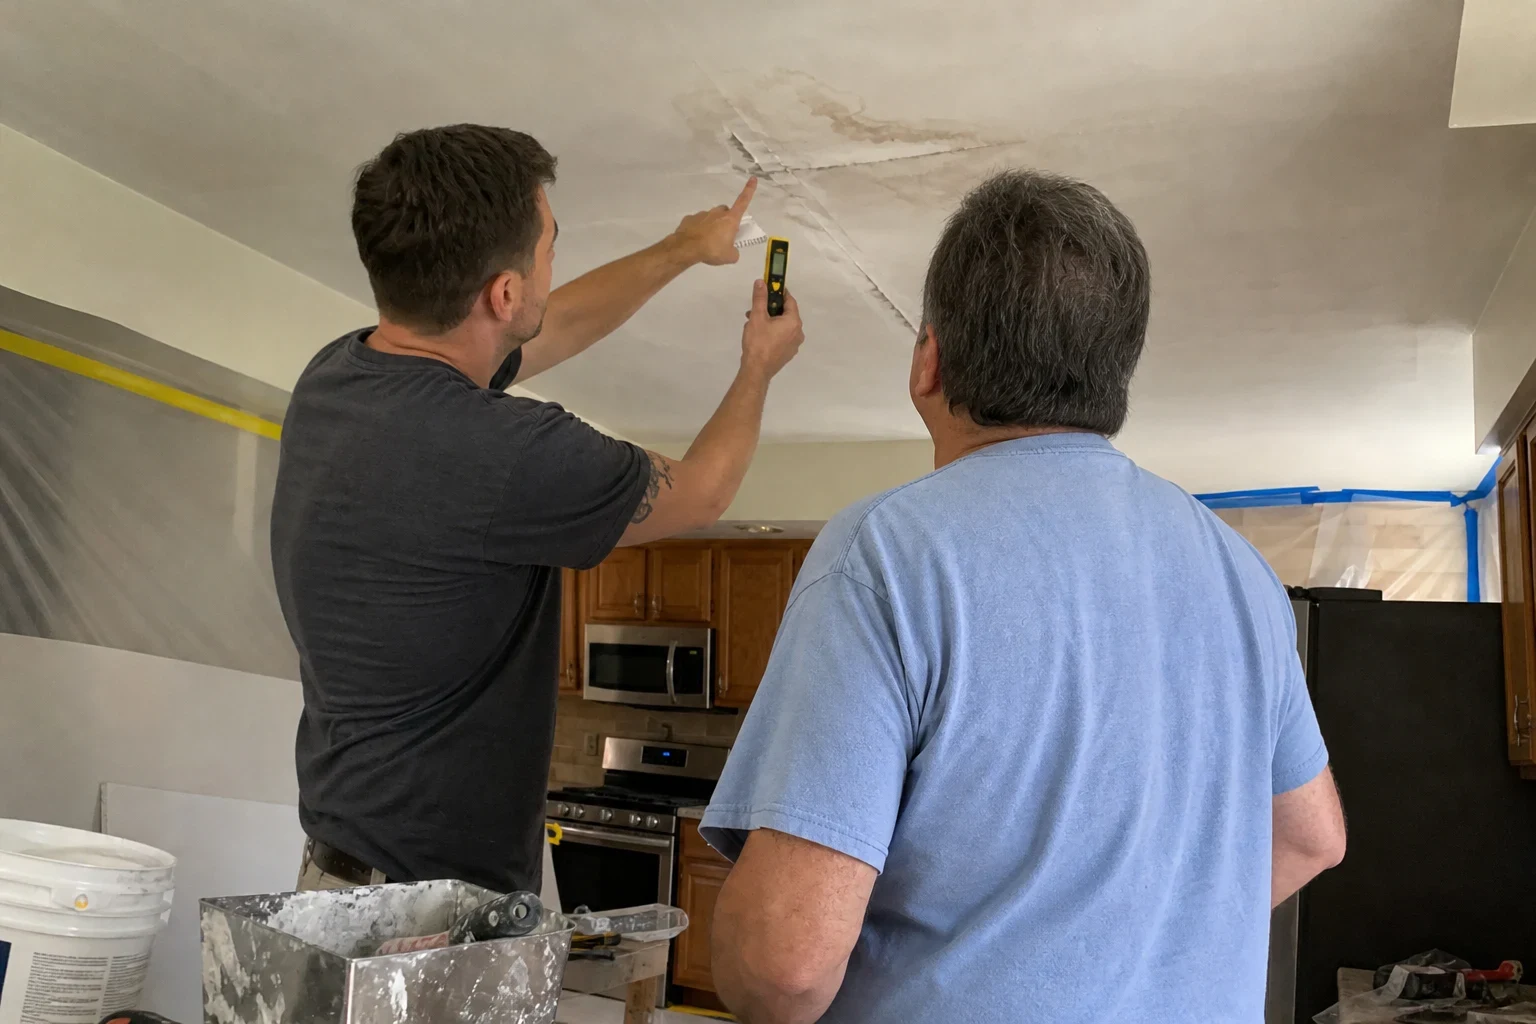
Questions about surface preparation and sanding
Will you paint once the prep is done?
We do paint touch-ups over the spots we repair. For whole rooms, plenty of customers bring in their own painter, and our prep makes that job quicker and the result cleaner. Let us know what you have in mind when you call.
Will sanding spread dust through my house?
Some dust comes with any sanding, so we prepare for it before we begin. We cover floors and furniture, can close off doorways with plastic, and vacuum while we work and once more at the end. Our goal is to leave the rest of your home as clean as we found it.
When can painting start?
After sanding and spot-priming, the walls can usually take paint as soon as the primer is dry. Deep fills may want another day to cure, and muggy summer air slows drying, so we give you an honest timeline for your rooms.
Why pay for prep when I could just paint?
A coat of paint is thin and won't cover dents or holes. If anything, it makes them stand out more. Proper prep keeps new paint from looking blotchy a week later and spares you a second paint job.
Do you prep rentals between tenants?
We do this for landlords and property managers. We fill the scuffs, dings and anchor holes left by the last tenant and leave the walls and ceilings ready to paint.
Which season works best for prep?
Spring and fall make it easiest, because mild air helps compound dry and windows can stay open. We still work through the whole year and adjust drying time to the weather.
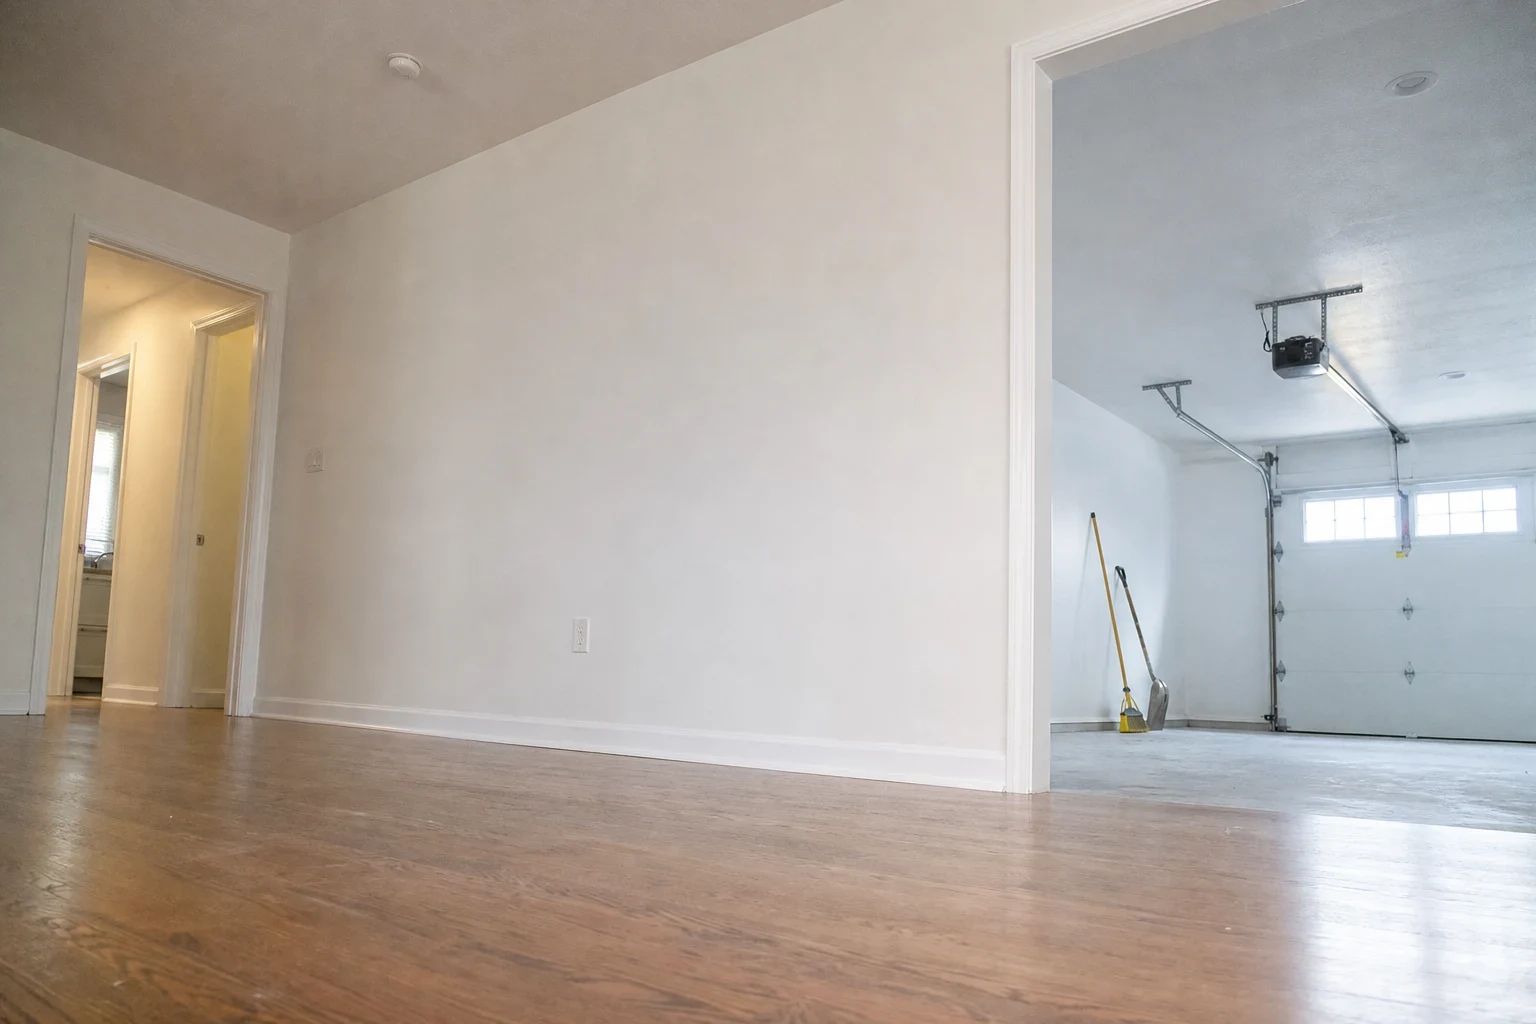
Get your walls ready before the next season
Tell us which rooms you're painting and when. We'll come take a look, explain what the surfaces need and work around your schedule in Carteret and the surrounding towns.